The 5 exercises you need to start your handstand journey
Learning to handstand can seem like a scary goal.
But it doesn’t need to be.
A freestanding handstand is achievable for anyone at any level provided that these exercises are followed with patience and consistency.
It is a gradual process and the big secret to handstand mastery is to just keep practicing.
I am going to show you the first 5 exercises we use in all our Handstand classes to get new people started but you can also do these at home or in your own gym if they have the right space and equipment.
1. WRIST STRETCHES
Before we learn how to balance, we always start by preparing our wrists.
There are lots of little bones in your wrist and hands and they don’t usually need to do much so we need to ease them into these new movements.
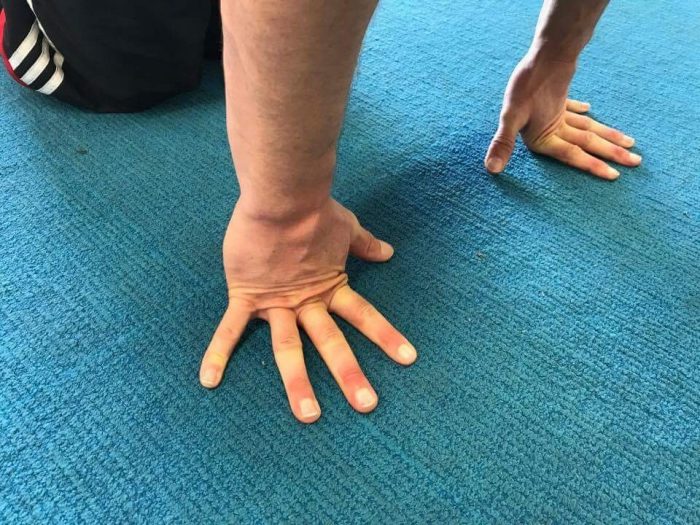
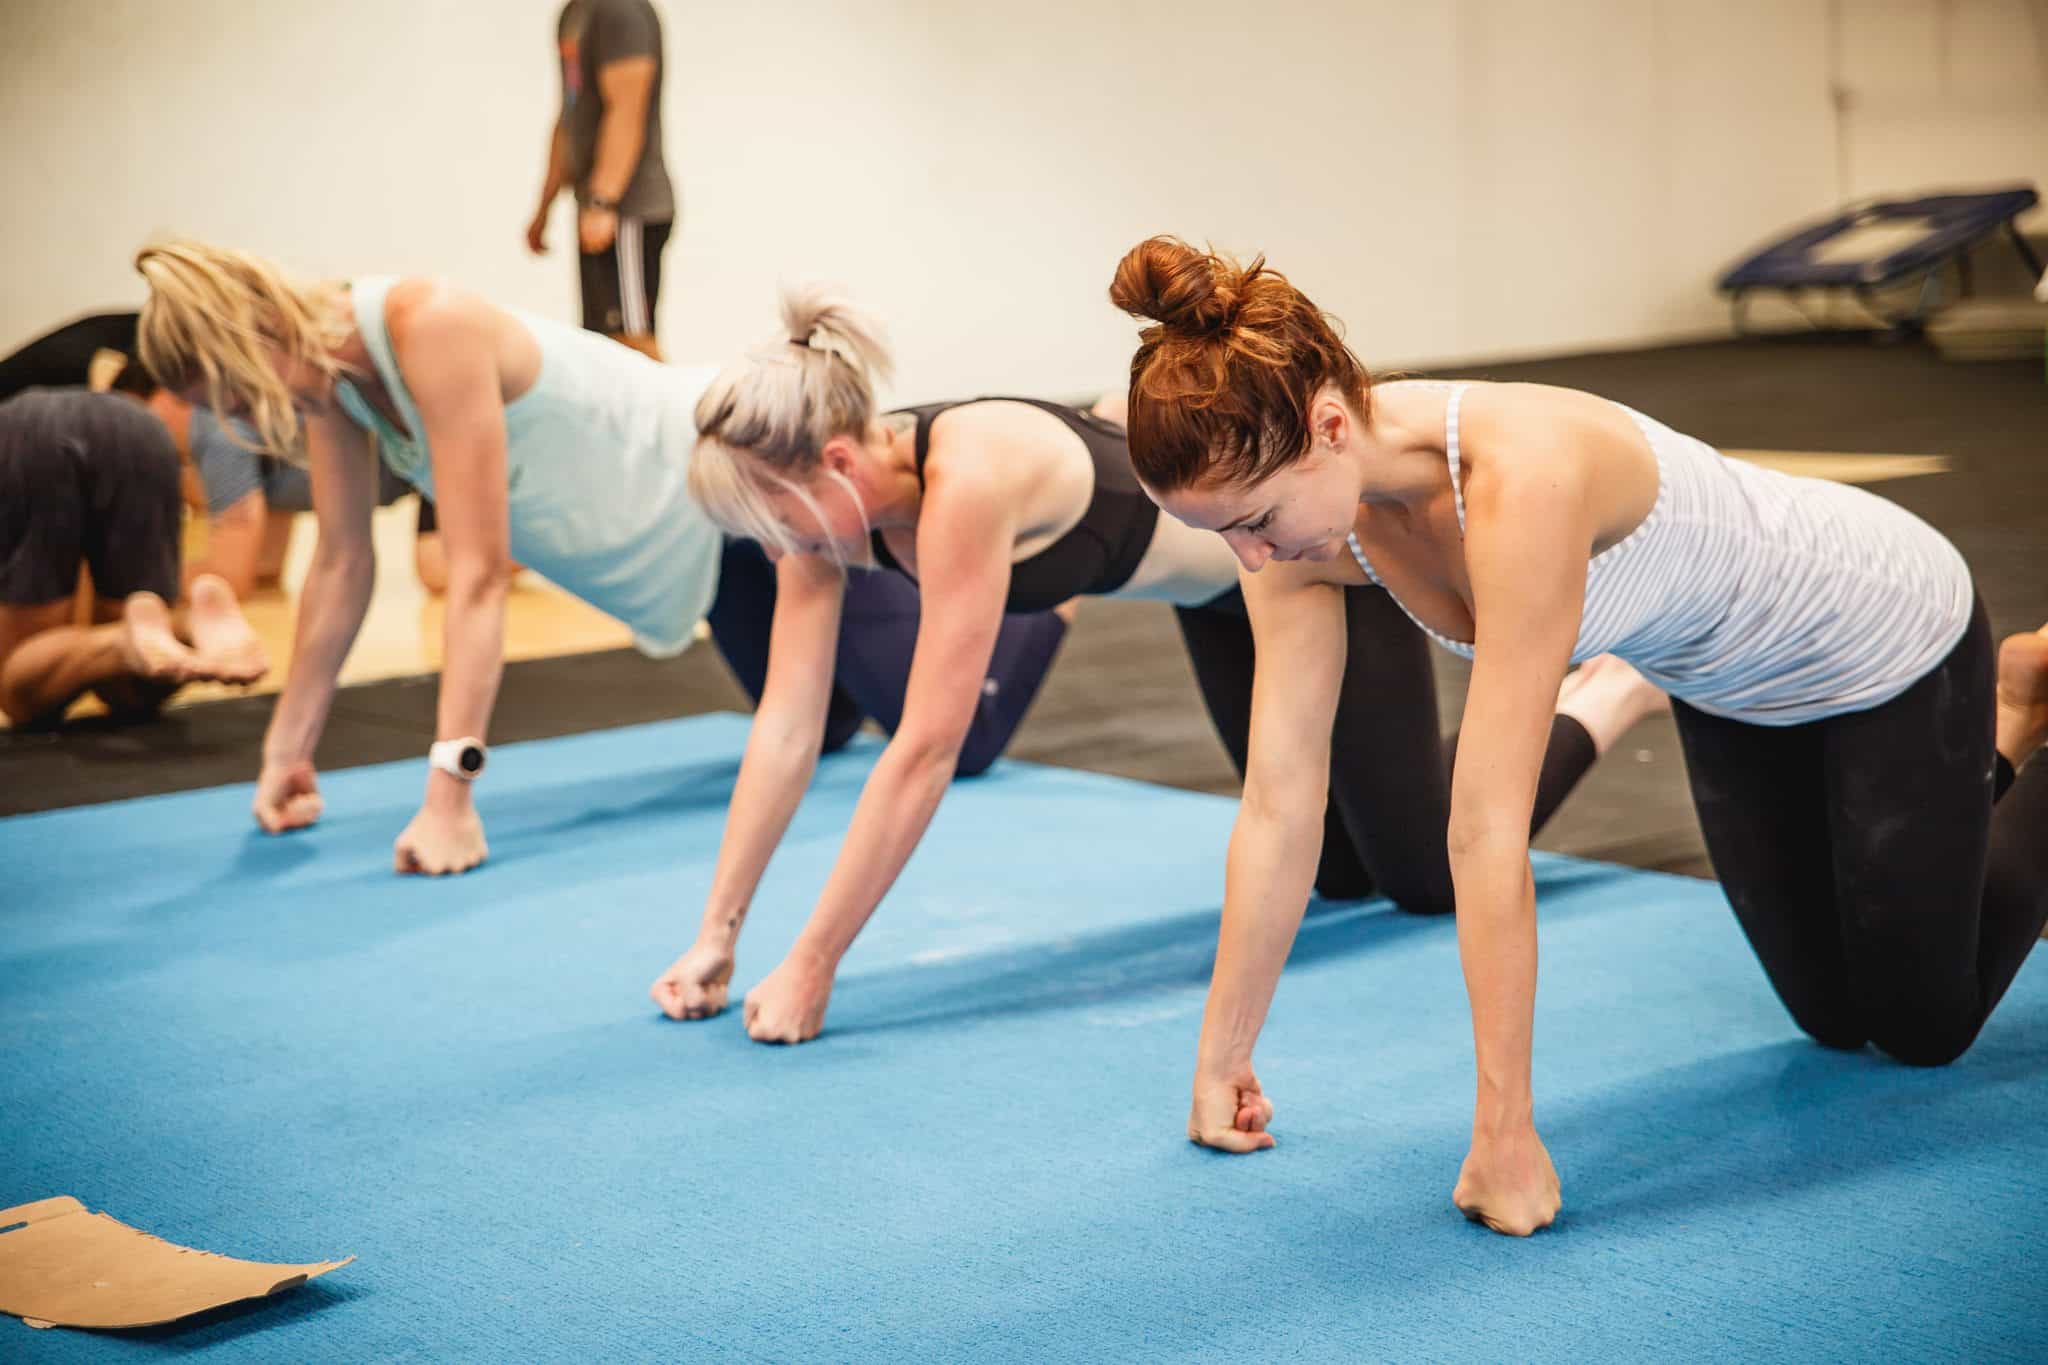
FINGER EXTENSIONS – for finger flexibility
- Index fingers parallel, fingers fanned out around that
- Weight focused on the first knuckle
- Aiming for 90 degrees between fingers to backs of the hands
- Press fingertips heavily into the ground
Recommended time – 1 minute
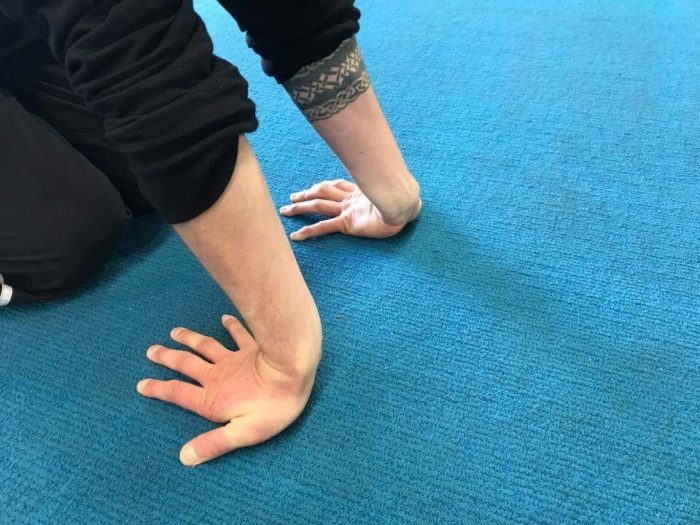
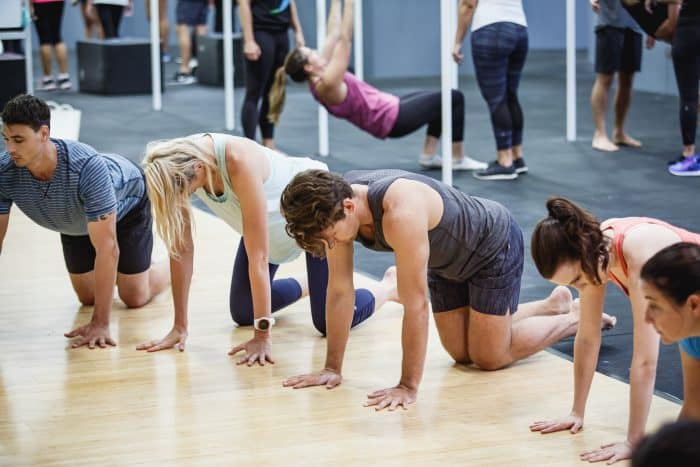
WRIST EXTENSIONS – for wrist flexibility
- Externally rotated in the shoulders
- Elbow pits pressed away
- Heels of the hands don’t have to be connected to the ground but are aimed pressed into the ground
- Tricep tight
- Shoulder weight as far backwards as possible while pushing arm pits towards the ground
- Fingertips pressed heavily into the ground
Recommended time – 1 minute
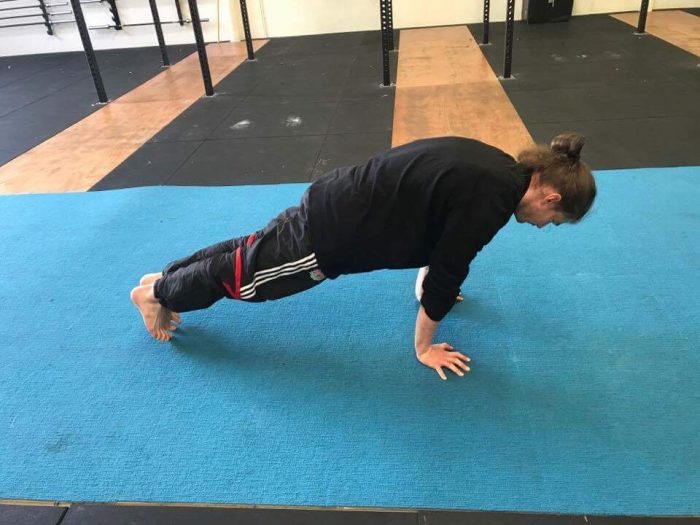
PLANCHE LEANS – to get your wrists used to taking some weight.
- Index fingers parallel, fingers fanned out around that
- Elbows locked
- Full scapula protraction
- Shoulder weight as far in front of the wrist line as possible
- Tucked tail-bone, weight on the core
- Straighten legs
Recommended time – 30 seconds for 1-2 rounds
Join our tribe of movers and begin your journey with 7 Days of Movement on our FREE 7 Day Trial
2. WRIST STRENGTHENING DRILLS
Once our wrists are beginning to feel a bit more flexible we then do some basic wrist strengthening drills to prepare for the requirements of holding our weight upside down.
PALM RAISES – conditions the wrist and strengthens the forearm
- Index fingers parallel, fingers fanned out around that
-
Weight into the first knuckle
-
Elbows locked
-
Shoulder weight above the wrists
-
Use the push of wrist flexion to raise the upper body up holding the weight through the forearms
-
Up and down at the same pace without shifting the shoulder weight
Recommended 30-50 reps
BACK OF HAND PUSHUPS – conditions and adds flexibility to wrists and forearms
- Backs of the hands to the ground
- Middle fingers connected
- Hold as much weight as possible through the backs of the hands
- Elbow pits turn to face one another as the shoot directly away from each other
- Chest to hands
- Straighten up and try to add external rotation
Recommended 15-20 reps
WRIST ROLLS – increases flexibility and stability in your wrists
- Tight fist, thumb wrapped around fingers
- Flat from elbow to knuckles
- Lead with pulling elbows from the ground
- Without the wrist collapsing in roll through ulnar deviation
- Sit into the index finger actively pulling pinky finger from the ground
- Roll back through
Recommended 20-30 reps
Begin to master your handstand while having fun on our FREE 7 Day Trial
3. SHOULDER DRILLS
Now that our wrists and fingers are warmed up and feeling ready to go we then focus on opening our shoulders and getting out arms straight overhead.
If you spend a lot of time at a desk or driving you might be quite tight through your shoulders and upper back. This will improve over time.
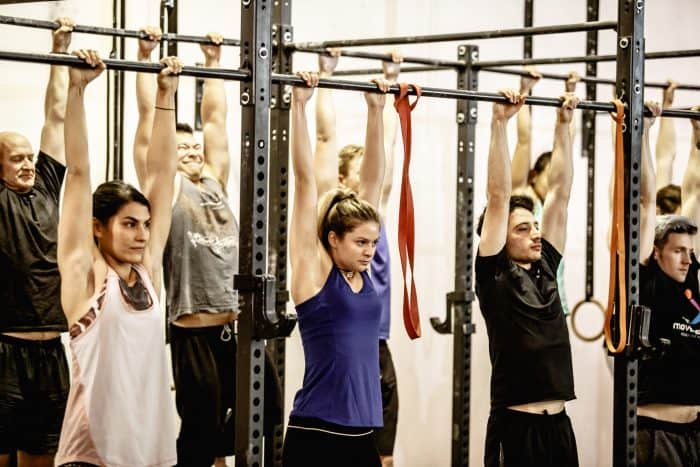
HANG – to improve shoulder health and strengthen grip
- Try do it without chalk as it will help to develop grip strength which will ultimately help with the pressure you can apply with your fingertips in your handstand
- Thumbs wrapped around the bar
- Sink into your shoulders
Recommended 1-2mins (break up into smaller sets if needed in the beginning)
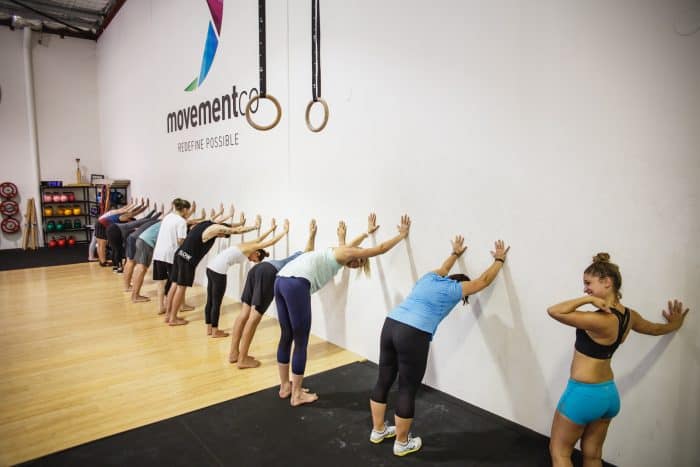
WALL PUSH – to improve shoulder flexibility
- Hands standing shoulder height or higher (higher the hands the more flexible you are expected to be through your shoulders)
- Thumbs connected, index fingers parallel
- Elbows locked, elevated scapula
- Tucked tailbone, abs tight
- Armpits pressed towards the corner of the room
Recommended time 1-2mins
Get strong, flexible and learn new skills with 7 Days of Movement for FREE
4. CORE STRENGTHENING
Once our wrists and shoulders are moving more freely it’s time to start working on our core strength.
Holding a nice straight handstand requires lots of muscles to work at the same time to keep you steady and balance as well as your core keeping tight.
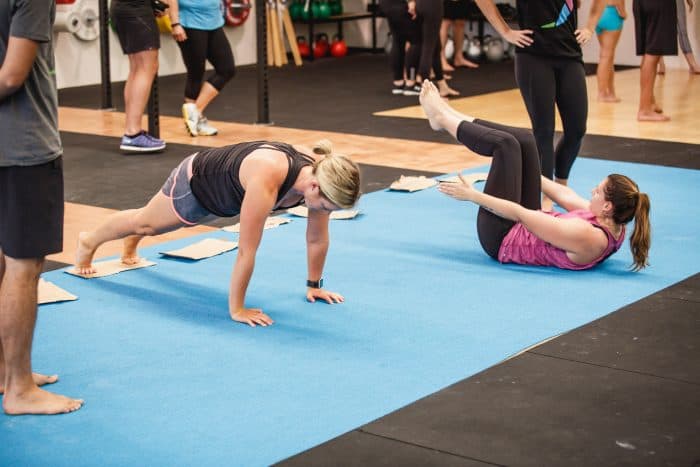
HOLLOW BODY – teaches strict body tension favouring the core
- Lumbar spine in full connection to the ground (posterior tilt at the hips)
- Hands at shoulder width while maintain hands as close to the ground as possible without them connecting
- Elevated scapula
- Back of the head connected to the ground
- Legs tight
- Legs extended as much as possible without losing connecting with the lumbar spine
Recommended time – 1 min
BODY LINE DRILL – teaches strict body tension while been in a horizontal handstand line
- Lying on front
- Hands reaching as high as possible
- Elevated scapula
- Suck belly button in
- Legs glued together
- Every muscle tight
Recommended time – 1 min
2-5 rounds
Begin your journey to become an incredible mover with 7 Days of Movement on our FREE 7 Day Trial
5. HANDSTAND ENDURANCE DRILLS
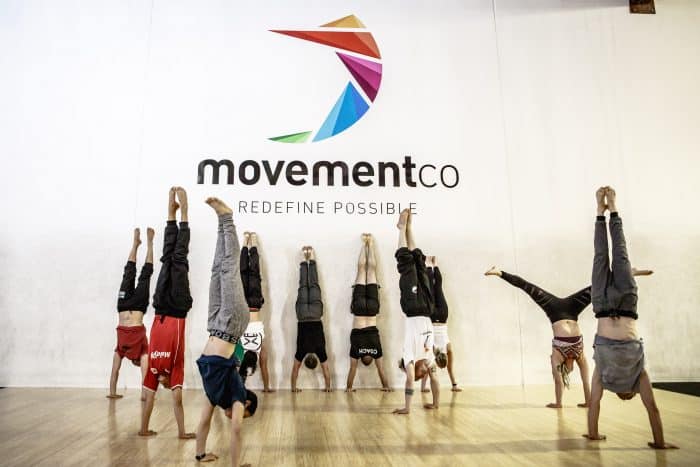
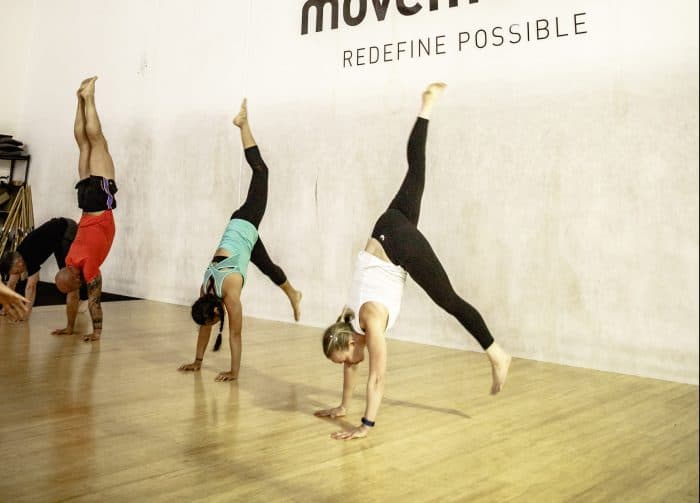
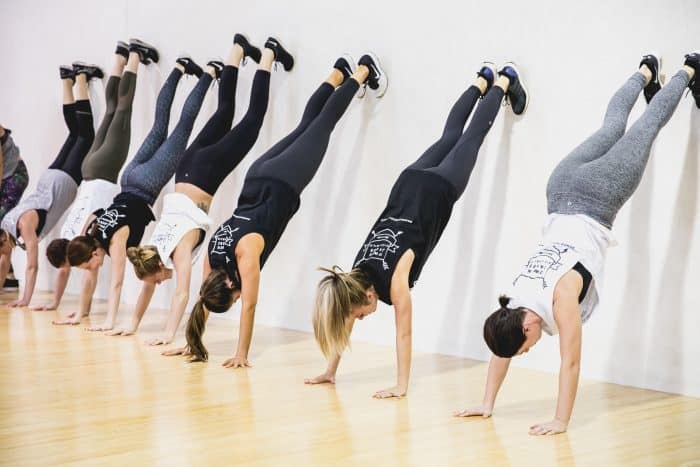
The final step before the class moves into balance and strength drills is handstand holds against the wall.
This will work on your shoulder strength and endurance as well as opening your shoulders and improving your core strength.
CHEST TO WALL HOLD – strengthens body and simulates a freestanding handstand with been able to rest on the wall
- Index fingers parallel, fingers fanned out around that
- Weight pressed into first knuckle
- Elbows locked
- Elevated scapula
- Looking between the wrists
- Nothing connected to the wall but toes
- Body tight
- Body in straight line
Recommended time – 1 minute on, 1 minute off
5 rounds
This will be hard if you have never tried something like this before, really hard.
Big tip here – BREATHE!
This is just the method of preparing the body to handstand and building some endurance upside down.
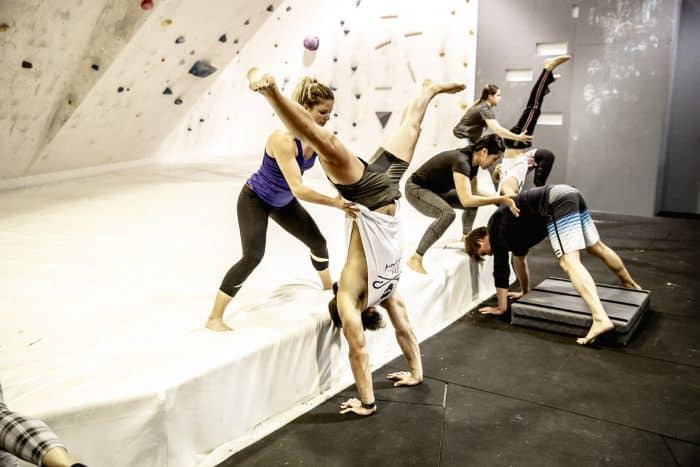
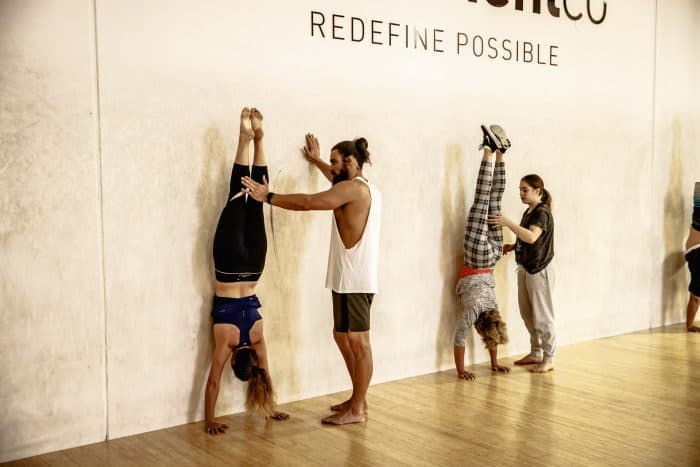
Once you get comfortable with these exercises the real fun begins and you can start to learn to balance with a friend spotting you.
Harry Williams
Handstands and Bodyweight Coach


